Creating Linux VM Templates with System Center 2012 SP1 – Virtual Machine Manager
January 15, 2013 Leave a comment
Configuring a VHD for use in a Linux VM template involves the following steps:
- Create a virtual machine (or use an existing one) and install your Linux operating system.
- Install or update the latest Hyper-V Linux Integration Services
- Install the VMM Agent for Linux – the VMM Agent for Linux is a small agent that receives incoming configuration from VMM and applies the OS configuration. Following a successful VM deployment, the agent removes itself.
- To make this prepared VHD available for templates: shut down the VM, and copy the VM to a VMM Library share and refresh the VMM Library.
The steps to create a VM Template are:
- In the Library pane of the VMM console, launch Create VM Template
- Select Use an existing VM template or virtual hard disk stored in the library, click Browse, and select your template VHD

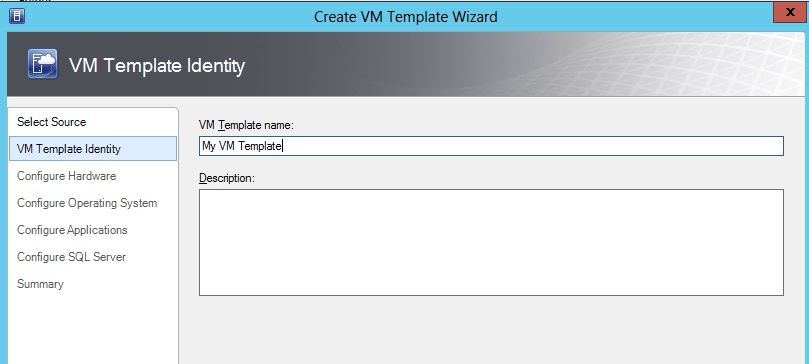
- Provide a name for the VM template and click Next
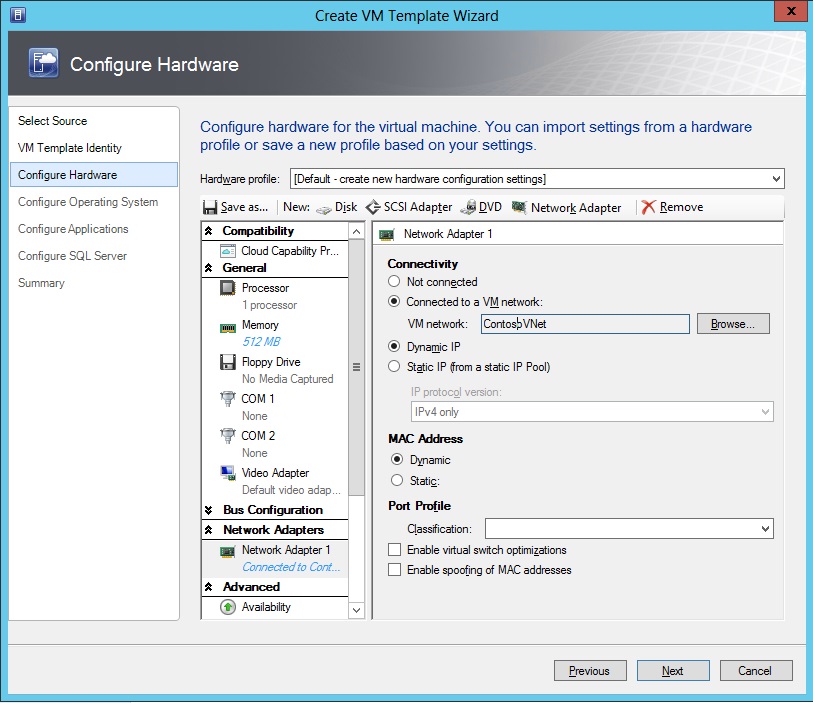
- Select an existing hardware profile, or configure a new one. The Hardware Profile configuration is common to both Windows and Linux Virtual Machines. Click Next.
- On the Configure Operation System page, select Create new Linux operating system customization settings. Alternatively, you can create a Linux OS Profile before launching the VM template wizard and select it here.

- Available OS Profile settings for Linux are:
- Identity Information\Computer name – the hostname that will be assigned when configuring the OS. Entering * will result in a randomly-generated hostname, and # wildcards are supported for incrementing numerical values.
- Identity Information\DNS domain name – the domain name portion of the FQDN. This is set as search and domain in resolv.conf and the FQDN is set in /etc/hosts as well
- Root Credentials\Root Password:
- No root credential required – no changes are made to root
- Specify the password of the root account – root’s password is set to the supplied value
- Select a Run As account for the root account – root’s password is set to the password specified in the selected RunAs account. The username in the RunAs account is ignored.
- Root Credentials\Public SSH key – select a public key file stored in the VMM library. This will be assigned as an ssh public key for root. The file must be stored in the VMM library with an extension of .sshkey.
- Time Zone – select the time zone to configure for OS
- Scripts\RunOnce Commands – these are commands that are executed during deployment, after the OS configuration (and network settings) have been applied. You can specify multiple commands, which are run in order. The commands are executed as they are input, so it is recommended to wrap the command with an explicit invocation of the shell, such as: /bin/sh –c “echo this is my command >/opt/myfile.txt” – be mindful of quotes and escaping though.
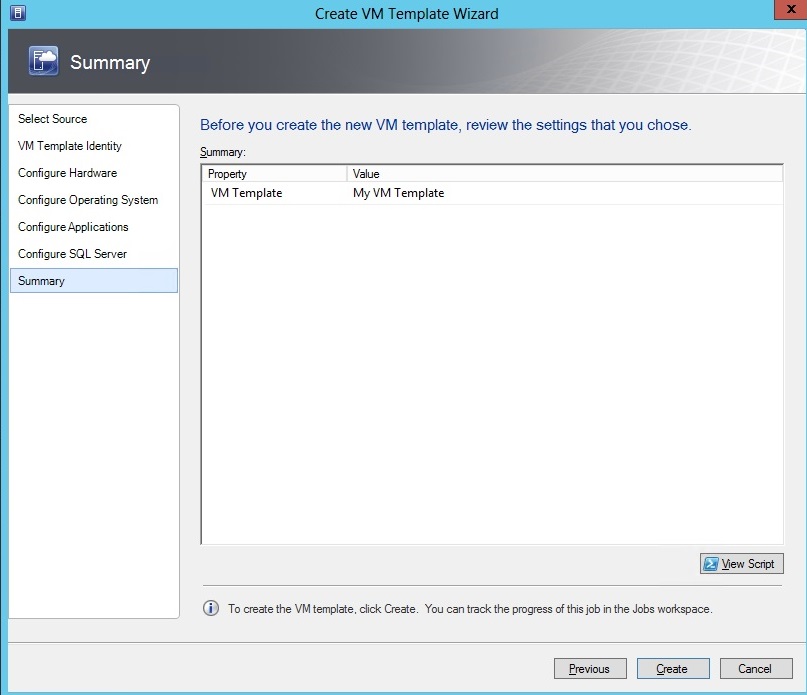
- Applications and SQL Server settings are not applicable for Linux, so click Next to the Summary page and click Create
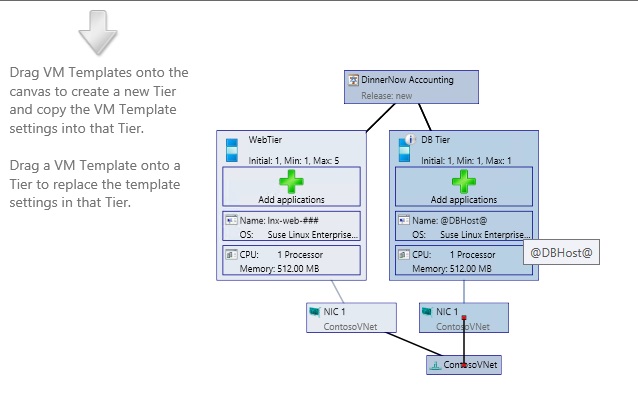
This VM template can then be used to deploy Virtual Machines, or it can be added as a machine tier in a Service Template. Service Templates can be used to define multi-tier configurations (with any mix of Windows and Linux VMs).
Customizing with RunOnce commands
For additional flexibility, the RunOnce commands can be used to perform further customization during deployment. For example, RunOnce commands can be added to mount an NFS share, and invoke scripts or install packages from the NFS mount. Alternatively, packages/scripts could be “baked in” to the VHD, to be selectively called during deployment. Because the script invocation is defined in the OS profile, this approach allows a generic template VHD to be customized for specific roles by defining which scripts are called during deployment.
As an example, this list of RunOnce commands mounts an NFS share, calls a script to install MySQL, and then calls a script to install/restore a MySQL database from the NFS share.
/bin/sh -c “mkdir /mnt/nfs”
/bin/sh -c “cd /mnt/nfs/mysql;./installmysql.sh”
/bin/sh -c “cd /mnt/nfs/dinnernow;./installdinnernowdb.sh”
